While browsing through the Mautic Slack Community, I encountered a fellow Mautician struggling with one aspect of Mautic reporting, aka how to see which email addresses bounced once Mautic has been configured to track bounces.
If you don’t know how to make sure Mautic tracks bounces correctly, I invite you to first set your instance correctly following this tutorial full of screenshots written by the community: https://www.mautic.org/docs/en/emails/bounce_management.html
This article is meant to allow you to retrieve the information after the technical tracking aspect of it has been realized.
In short, this article comes into play the moment this column shows up in your Email reporting:
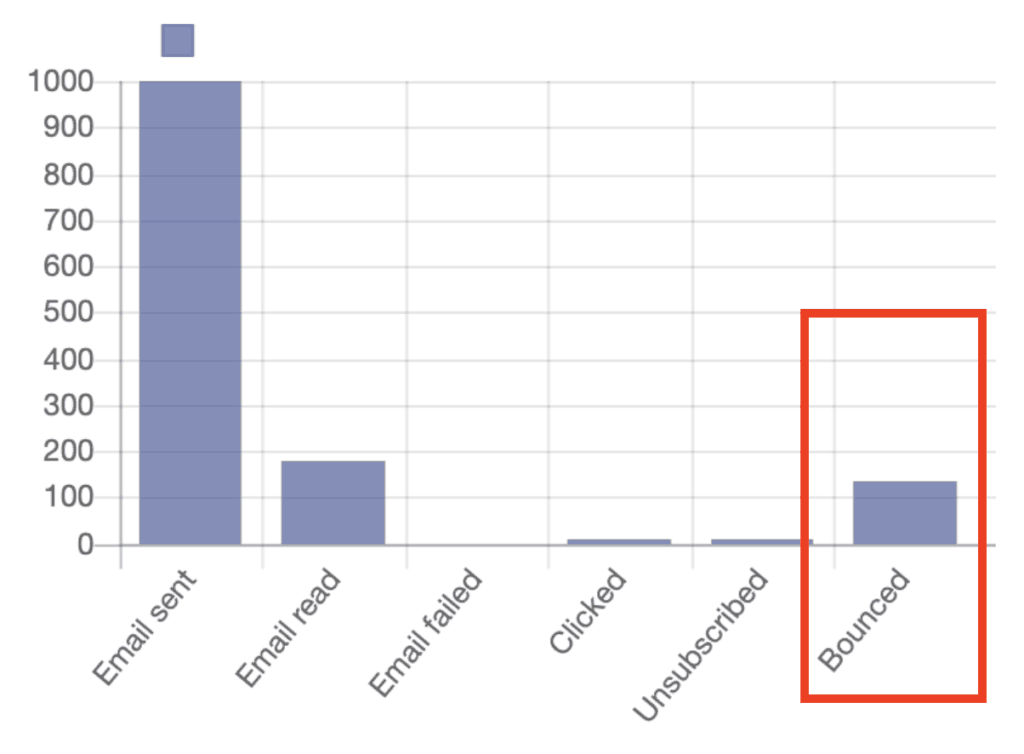
Unfortunately, clicking on this column does not provide any additional set of information, meaning we are going to have to work ourselves to get this data in a more legible manner.
To do that, there is one simple report we can create that will compile the data from all of the emails we sent and give it to us in an easy to read and filter dashboard.
Create a Bounced Emails Report in Mautic
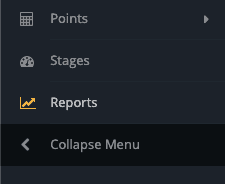
The first thing we want to do here is head over to our Reports section on the left side and create a new report.
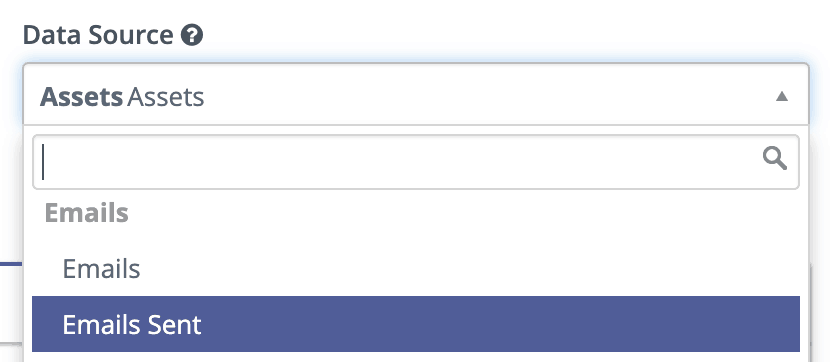
Once we are in the New Report window, we need to select a data source.
In our case, we want to have an overview of each and every one of the emails that have been sent and filter them then depending on the status of their delivery. So we need to select “Emails Sent” as a data source.
Once this is done, we can now click on the Data tab and build our report from the fields we are interested in.
The way I built my report is as follow:
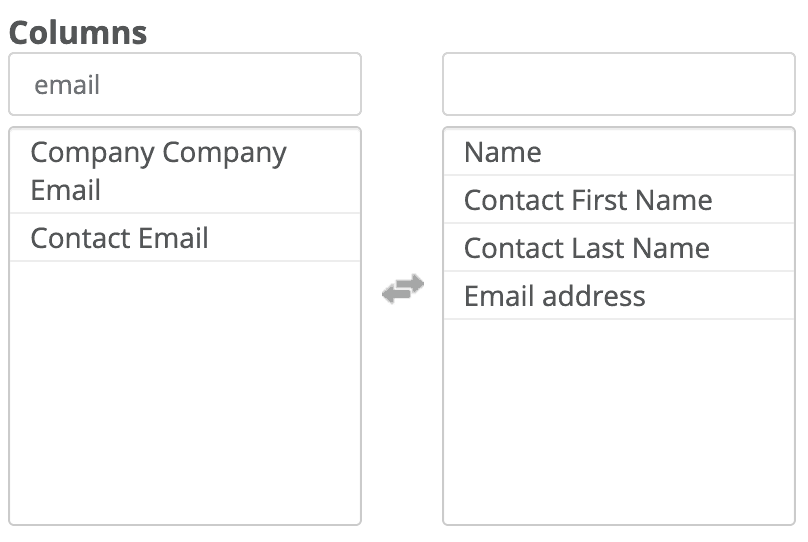
By putting “Name“, I make sure that the first column indicates which Email we sent bounced for this person. The three other columns are a way for me to identify exactly who bounced and what is their email address. Feel free to add whatever column you’re interested in.
For instance, one could add a column “Primary Company” to detect if a specific company bounces more than others so one can then investigate if X company closed or is blocking your emails.
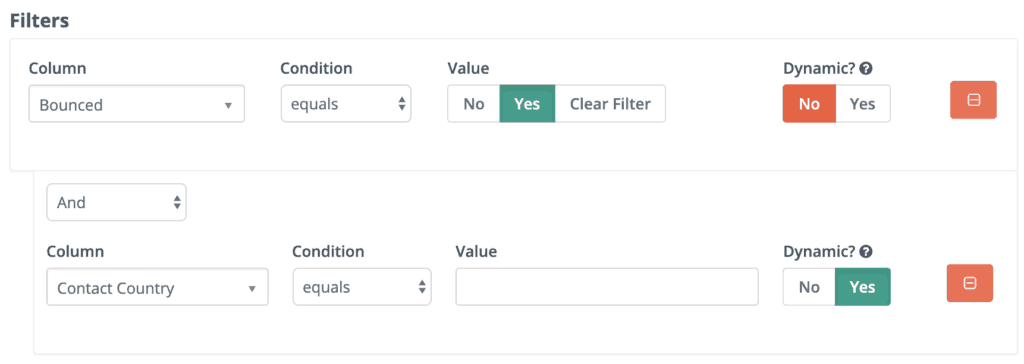
Then, we want to add a filter to only show contacts that bounced.

This filter makes sure the only results that will be displayed in our new report are going to be leads that have the Bounced status in Mautic.
Now, you can add your own dynamic filters to this report in order to show a more granular insight into your bounced emails. In my case, I chose to be able to filter by Contact Country to skim through our target markets and have an overview of which contact bounced country by country.
One more thing we can do is add what Mautic calls “Graphs“. Located in their own tab when creating a new report called “Graphs“, there is one graph we could display alongside our results for better visualization.
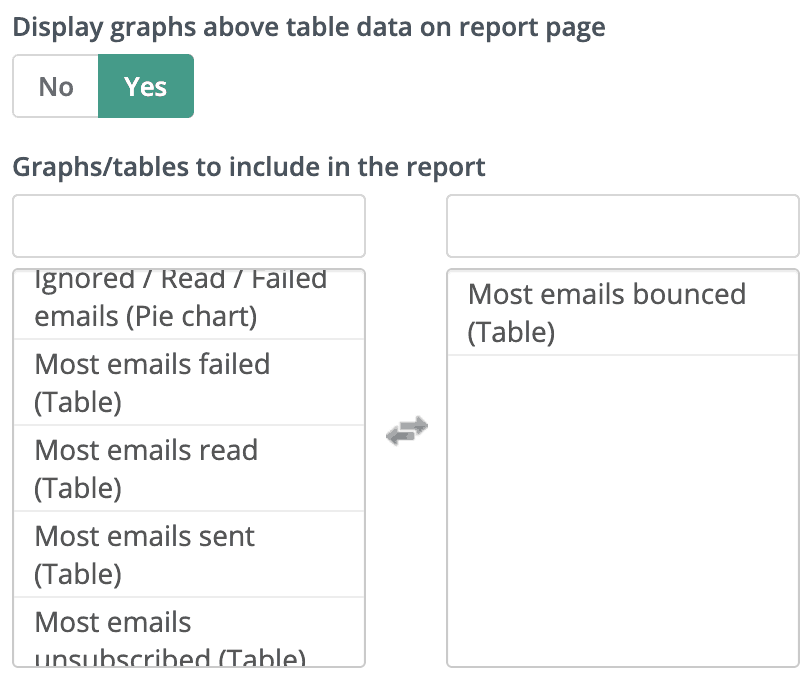
The table of “Most Emails Bounced” sounds pretty interesting in our case here to quickly identify which emails cause a lot of bounces.
Finally, I like to set some settings before saving and closing my report.
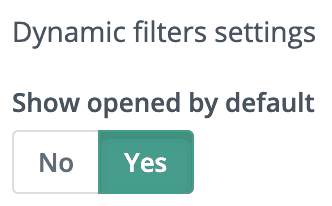
My favourite one is to show the dynamic filter settings opened by default. You can find this setting on the right-hand side of your screen when you are creating a new report.
And that’s it, we can now “Save and Close” and admire our results. I can not show you my own report as it’s based on company data but it works for me and it worked for my fellow Mautician.

If you have any questions regarding this tutorial, don’t hesitate to ping me in the comments section down below or via email. I will do my best to answer you.
If you wish to see more of his comment, please make your voice heard in the comment section as well or you can also let me know how it helped you by email and join my newsletter 🙂
I hope this helped, and I will talk to you in the next one.


One Response
Hi,
I have a Contacts report filtered by 3 countries and 1 segment.
How can I remove contacts marked as Do Not Contact from the report?
Maybe I should create a segment with only valid emails?
Or should I create a custom field for this?