Hello there,
For a while now, I’ve been tempted to start and write my own newsletter around Marketing Technology. This idea is one of the reasons
The problem is as follows: I’m a lazy person and I was not really looking forward to the idea of going out every week to manually fill out every piece of information required to make
The reason why I’m sharing this project is because I believe it could be of interest to Email Marketers out there so if you’re interested, don’t hesitate to tag along as I’m making progress !
I don’t know how other people do it but I needed a way to automatically pull information coming from the articles I wanted to feature and insert them into an email template.
Basically, my idea was to give a program a few URLs and a bit of filler text and the program would poop out the code for a perfect email which would show the title of the articles I chose to feature, a related image, where the article was originally published and the icon of the website where the article is from.
1st Step : Creating an Email Template
There’s a ton of email designing tool out there but one of the most widely used is probably MailChimp. Despite being a pretty expensive tool for whoever has an extensive list of subscribers, there are quite a few features you can enjoy for free, one of them being their Email Design Tool.
After having chosen a 1:2:1 Column
Basically, my idea was to use Python (Surprise!) to manipulate the HTML document that is an Email to find predetermined text and replace it with whatever I input.
If you’re familiar with the context of Mail Merging or Custom Token for Email Marketing, that was pretty much my idea but a bit more advanced considering it involved including links into HTML tags and images.
Anyway, in order to do that, I had to choose a naming convention that would not interfere either with my Python code nor the HTML code. I’m saving you the time spent testing and failing, but for now, I’m using this format: {custom_field}. For now, this way of doing works but I’d like to explore the more conventional *|CustomField|* format.
For instance, the first part of my Mailchimp Email Template looks like this :
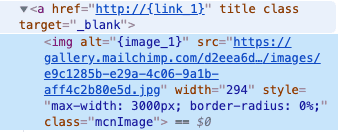
As you can see, the template contains two custom fields in this specific part : {description1} and {my_comment1} . The image also contains some custom fields inside of it for manipulation, namely {link_1} and {image_1} :
2nd Step: Prototyping
I’m not going to bother you with the code or with the problems I encountered but after some hours of coding and ten times this amount in debugging, I had a working prototype.
And that’s how how it looks like for one of the latest tries I’ve done :
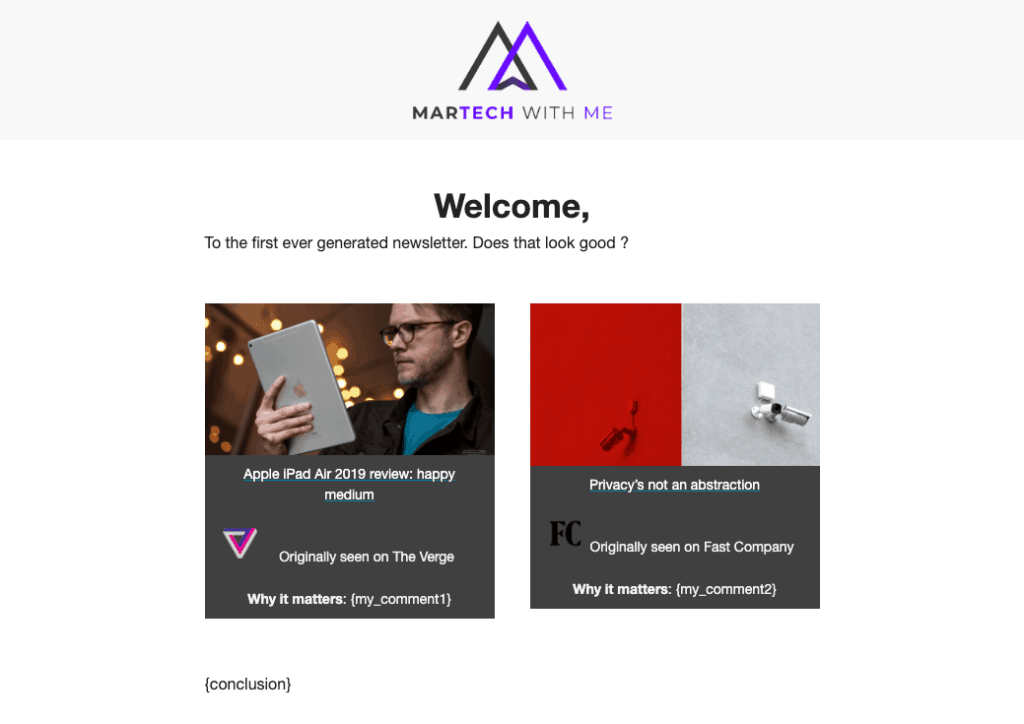
So you can probably already notice that there is some design choices to be made to accomodate for the little troubles we can notice already but let’s focus on the features already available at this stage of the operation :
- Shows Featured Image from the article that you can click on to get to the article
- Shows Title of the article that you can also click on to get to the article
- Shows the name of the publication the featured article is from and its icon.
- Replaces custom fields with text. You can see it after the “Welcome,”, the “To the first ever generated newsletter […]” has been added through my program, replacing the original {introduction_text}. I could not be bothered to write stuff for the other fields but believe me when i say it works 🙂
There is still a lot to do from a design standpoint though. If you take a close look at it, you can see that the height of the two images is not the same. Because the height of the image is not defined in the code, it’d require extra coding to implement it so I’m going to have to circumvent that with an other design choice.
The icons of the websites look sketchy as well but at least they show the right one. One of the things I’d like to add to those icons is the possibility to click on them to reach the homepage of the publication. Or maybe make the name of the publication redirects to its homepage.
Overall, I’d say this result already deserved to be tested in real-life conditions.
3rd Step: Testing in Email Clients
The goal of this step was to look at how Gmail or my Mail client would react to it. H
And this is how it looks in Gmail :

And this is how it look in the native Mail app on Mac :

Pretty successful looking so far, don’t you think?
Conclusion:
This is just the first part of what is going to be a crazy adventure. I have so many ideas on where to take this little project. Ideally, I want to turn this into a web application and not only offer the possibility to create news digest but also include products to facilitate the creation of
If you’re interested in the source code for this project, just shoot me a message and it’ll be my pleasure to share it with you.
As always, thank you for your time. If you have any questions, the comments sections down below is what i’m going to keep an eye on for anything related to this article. For everything else, there is the Contact page 🙂