There has been plenty of times in my life where I had to send the same email to multiple people. Whether you’re cold emailing potential leads, contacting webmasters for a guest post or pitching to journalists, template emails are pretty common around us and chances are you’ve already had to write a few of those.
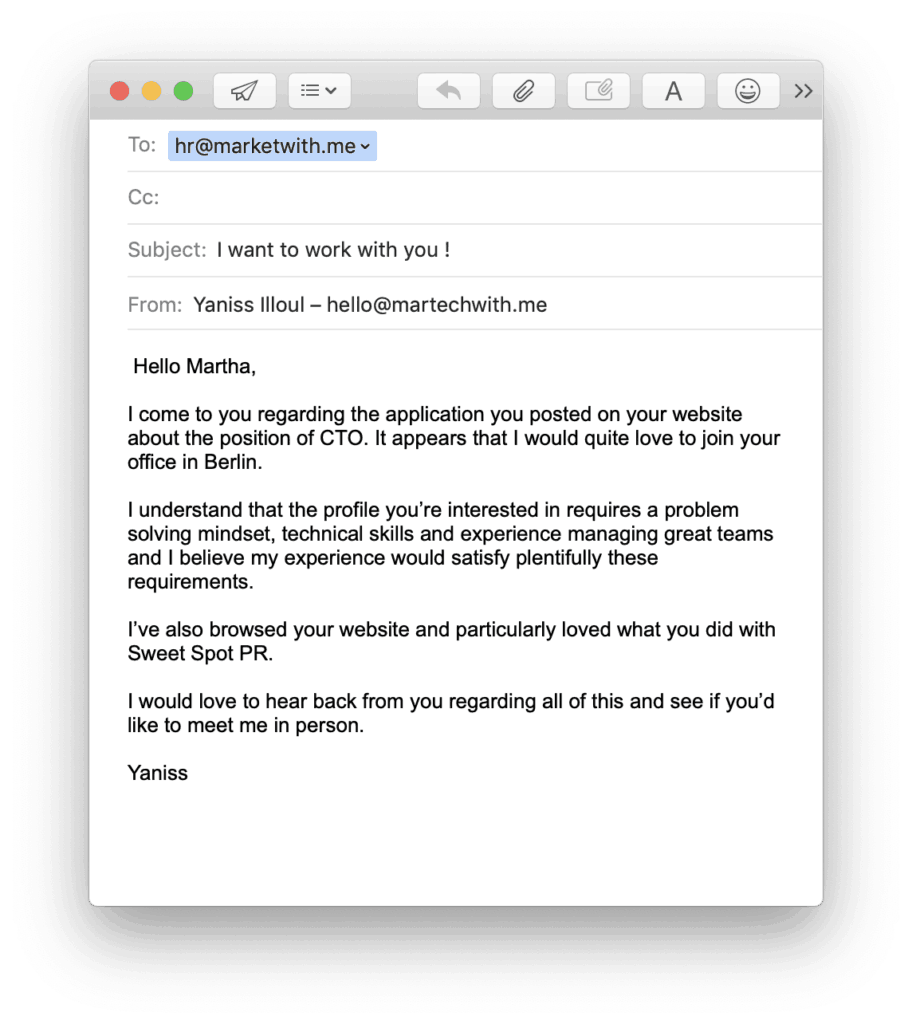
The problem with those emails is finding a good balance between customization and what I call “templating”. You obviously want your reader to feel like the message they’re reading has been written for them. If you’re applying for a job for instance, you want to mention the name of the recruiter, the name of the company, maybe one of their clients, some skills required for the job and the position you’re applying for.
It can become quite confusing to send multiple of the same emails to different companies while always having to change the content to match your recipient’s information, and this is without mentioning how prone to mistakes this method is. The opposite would be to write everything manually but I would not have opened this blog if it was to tell you to do stuff manually.
No, today, I’m gonna share a Google Sheets spreadsheet I made that will solve this problem of ours forever. With this spreadsheet you will be able to paste your emails with up to 30 custom fields you’re interested in customizing, fill up the information of up to 5 different recipients and watch the spreadsheet give you five different emails tailored for each one of your contacts. Ready ? Let’s dive into it.
Getting Ready
The first thing you want to do is head there :
https://docs.google.com/spreadsheets/d/1FUuAvrkuZ_QbTriBYwoPjkY2kwBjbZXLRt0aAV1Fem0/edit?usp=sharing
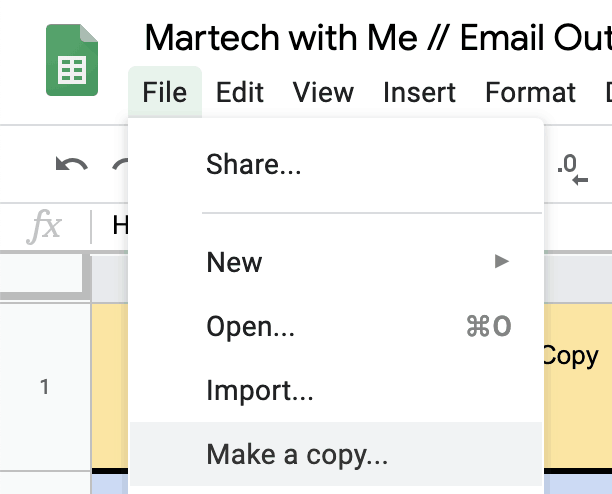
This link is the Google Spreadsheets where everything will happen. Make a Copy of it in your own Google Drive by clicking on “File” -> “Make a copy”.
Starting now, you have access to your own version of the Spreadsheet. Open your favorite Text Editor and start writing your email :
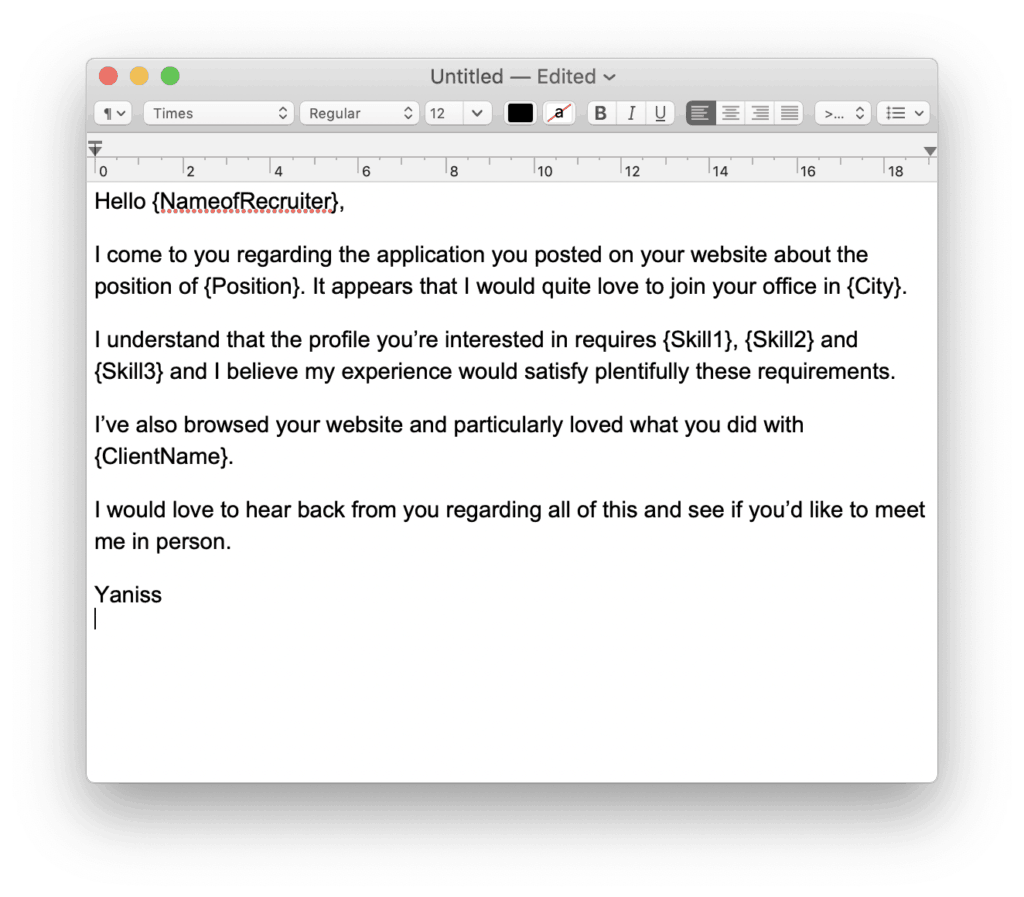
As you can see, some of the words are between curly brackets. This is where the spreadsheet is going to replace the words by whatever you’re going to define at the bottom of the spreadsheet.
Setting Up
Once you are satisfied with your text, double click on the cell A3 and paste your content. One of the disadvantages of this program is that you will lose the formatting such as bold/italic text but thankfully, line breaks and tabulations will be preserved.
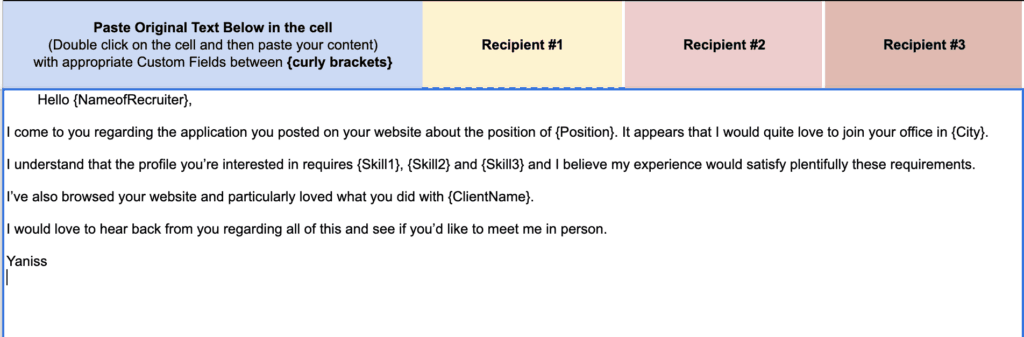
At this stage, a list of your custom fields should appear under the column “Custom Fields”. You will also notice that five versions of your text will have appeared at the right side of your original text. These are your five emails getting ready to be built. At the bottom of each version, you will find a column “Recipient # Information” adjacent to the list of custom fields available within your original text.
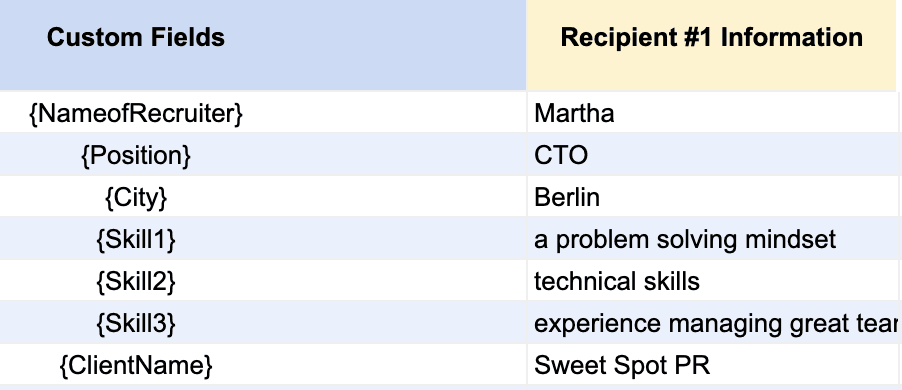
This last bit I mentioned is where you’re gonna fill the information specific to each and every one of your recipients in order to build the email tailored to them. Following the text shown initially, this is how we’d fill the first column :
Reaping the Benefits
After that, the cell under “Recipient #1” will fill the custom fields with all of the information we entered under the column “Recipient #1 Information”. The only thing left now is to copy the content of the first mentioned cell and paste it into our Email body.
Hit “Send” and you’re done ! Now you can do this over and over by batch of five contacts and be certain that your text is not gonna have any mistakes in it.
Wrapping Up
If you enjoyed this article, please consider sharing this among your colleagues. If you encountered any bug or have any suggestion on how to improve this, I’d really appreciate it if you could leave a comment under this post or you can also mail me directly.
Thank you so much for your time,


4 Responses
Hi Yaniss,
Thank you for creating such an incredible template. I am working on modifying the template for my Billing Past due follow ups. As my list can be long, 5 recipients is not enough and it is easier to keep track if the custom fields are in row 1 not in column A . I have adjusted formulas and was able to figure out and set up 1 row to work but unable to figure out how to make it work through out the whole column so it picks up clients info according the columns information?
Thank you!
PS it took me awhile to find exactly what i needed, so truly thankful for your template!
Wow I am so surprised someone found about this article aha. This is the article that started this website but definitely the less technical of them all…
I will take a look at my template and see if I can get it to work with the custom fields in the first row instead of the column A. I will send you an email once I figure this out 🙂
Edit: Looking at it now this is such a mess of a pack of formulas. there’s a lot of ways to simplify this. I will create a second version of the template that should satisfy more needs and be more efficient 🙂
Edit2: Emailed you a new template ! If anyone else wants it and sees that this article has not been updated, let me know and I can send you the Early Access version of it as well !
Thank you so so much! I did receive an early access link and modified it to fit my needs! It can be used in so many ways for any outreach needs. Hope it will help others to get organized!
Thanks!
Ive been looking for a template to manage guest posting efforts.